Candle Mold Making Technique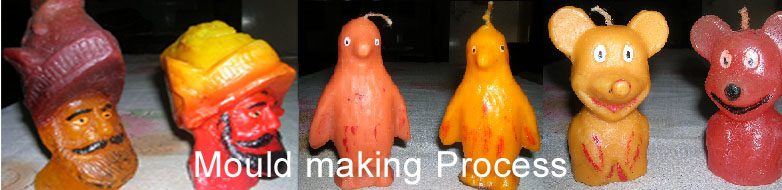 |
|||
Steps of Candle Mold Making :- Material Required for candle mold a) Clay b) Plaster of Paris c) Petroleum Jelly 1) Decide the piece (for candle) (to start use a model which can be made by 2 halves of mould FIG - "O') 2) Mark the two halves with the help of a marker pen. 3) Press the clay slab on the line marked. These clay boundaries should work as fence to prevent the Plaster to move to the other side. With the help of fingers smoothen the clay boundary.( FIG-'B') 4) Apply small amount of petroleum jelly on the front side of Model, (this will help in removing the candle mold from model) 5) Take a cup of water in a mug (depends upon the size of Model) and start adding plaster in the water(FIG-'A'). Keep mixing the plaster with water with the help of a spoon. When the plaster of the mug thickens somewhat (but still in semi fluid state) apply this on the candle mold to form a 1 inch thick layer( FIG-'C'). Cover one side on model completely(FIG-'D') 6) wait for approximately 2 hours for mould to set. 7) Remove the clay boundary. Now the model with plaster will look like FIG-'E' 8) Apply petroleum jelly on the back side of Model and the portion of plaster (portion exposed due to removal of clay) 9) Apply and cover the back side of Model by plaster as done in point no 5 (FIG-'F') 10) Now wait for approximately for 4 hours for plaster to set completely 11) Remove the upper and lower half of candle mold from the model. Do it slowly, otherwise finer details of mould will get damaged. 12) For making complicated candles you may be required to make the mould in 3-4 parts. For making a candle as in FIG-'G', you may be required to make candle mold in 3 parts as indicated by brown lines. 13) Well done - You have made your 1st Candle Mold successfully. 
 Since Nov 2018 - |
|||
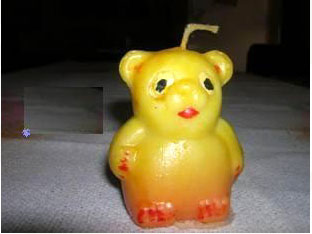
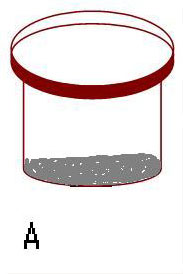 FIG-'O'
FIG-'A'
FIG-'O'
FIG-'A'
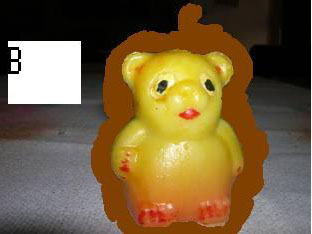
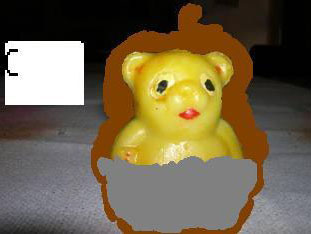 FIG-'B'
FIG-'C'
FIG-'B'
FIG-'C'
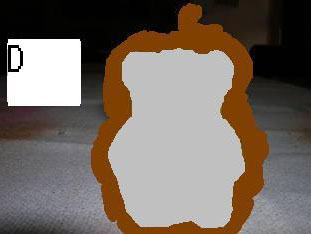
 FIG-'D'
FIG-'E'
FIG-'D'
FIG-'E'
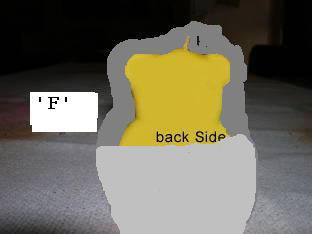
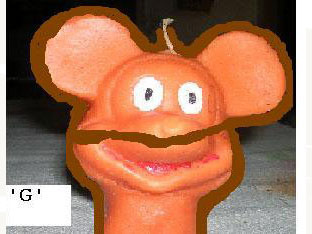 FIG-'F'
FIG-'G'
FIG-'F'
FIG-'G'